Monday, October 3, 2011

'By George She's Got it!' (I hope!)

Everytime I've made a card I've always had the distinct feeling that I wasn't quite 'getting it'. My cards were pleasant enough but as much as people complimented my work; I always felt like something was lacking. Something was keeping me from getting things just 'right'.

Today I made two cards that somehow didn't give me that feeling. I looked at them and I thought: By George I think I've got it. I know I've felt this before and then looked back and thought silly girl, you hadn't- not yet. So who knows, I may look at this a few months down the road- after all, we do learn every day we're on Earth!- but I am very proud of these two and the Goddess, may just be my best card to date.

1) Divinely Yours
Using a cut out from a patterned paper, I made this breathtaking card. The backing papers were stamped and distressed to give them the aged look. The flowers were heat embossed in gold and die-cut out using Sizzix cut and stamp packs that have become my newest love!


2) Vintage Christmas
This stamp set from Artistic Outpost features vintage Christmas images and was the reason I got into cardmaking in the first place! One of my first stamp sets (it came in a bundle with the Jane Austen one), I never did get around to using it until now. The backing paper actually comes from a Melissa Frances pack but I added the gold stamp for a little extra something. I love the red gauze ribbon too. It came with wired edges so it was a breeze to turn into ruffles.

Celebrating a Hobby!

October 1st marked the first World Cardmaking Day that I was a part of. I've not been in cardmaking a year yet and it has become such a huge part of my life. It's my therapy, my guilty pleasure and my pride.

I spent the day shopping for craft supplies and expanding my horizons in terms of what materials and tools I use. The cards I made were simple but I do hope you like them!

1) 'Take my letter to Santa!'
Love this cute stamp. Very simple card with an embossed background and a coloured in stamped image. Stamp from U-Mount Create-a-Scene Vintage Christmas by Sheena Douglass. The snowflakes have been heat embossed in silver. I am loving the Zing! Powders; so much less static cling issues as compared to the Ranger variety.


2) The Flower Tray
From Sheena Douglass' Wouldn't it Be Lovely stamp set and patterned paper from Prima's Londonderry pack.

3) Butteflies in the grass
Extremely simple card. Was a quick piece for an emergency card-requiring-occasion. Using stamps of life's Branches4Flowers stamp and a stamp set from NZ maker Flonz.


4) This was a commission for a colleague who had a funeral to attend. Again, using Branches4Flowers. This is fast becoming my favourite TSoL set!

5) Bubble Time!
This cute image came from a print pack from a Magazine I bought awhile ago but the name of which eludes me now! Thought the bubbles were just too cute. Quick and easy card but I know just who is going to get it. ;-)

The Cheaters guide to Cardmaking!

Okay, those of you who love using Crafts-U-print and similar cardmaking tools will probably want to bop me in the head for this post but here's my disclaimer- this is just how I felt when using this method! Like I was 'cheating' somehow. I know it's impossible NOT to use some kind of mechanical aid- even the idea of stamping as opposed to drawing and using a Big Shot as opposed to a scissors and embossing tool is probably cheating in some level too but this felt like I wasn't really using any creativity at all.

Why I would recommend it? It's fast and provides the glossy store bought look with minimal fuss or muss.

What I used:
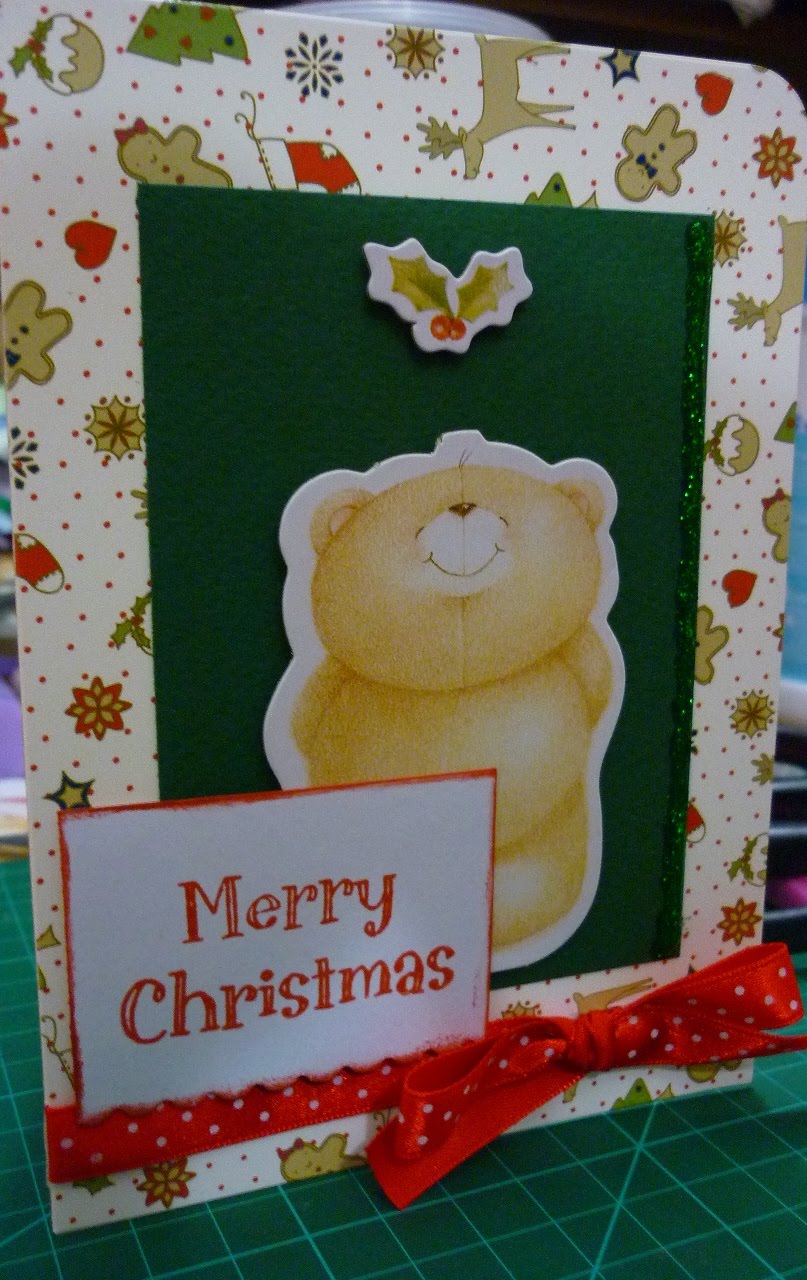
- Papercraft Inspirations Christmas kit (Oct 2011; Issue 91)
- Glitter glue
- adhesives
- polka dot red ribbon

*In the pack you'll find a bunch of printed and scored card bases, decorating cardboard pieces and 3 mini acrylic stamps.

It's really as easy as 1-2-3.

1) Pick your base

2) Pick and glue your chosen cardboard pieces.

3) Embellish with a stamped sentiment (also part of the pack!) ribbon, glitter, buttons or whatever you have lying about. And you're done!

Wednesday, September 28, 2011

That Almost October Feeling!

Hello again!

It does seem like I am going to be apologising quite often for bad updating habits (ie. not updating often enough!) as the year draws to a close. You can't imagine what an uphill task life has been recently but I am still optimistic I will see it through and eventually onwards to brightier, craftier days ahead!

So with this hectic schedule, crafting has taken on a needs only basis and I am sorely behind with my just-cause-I am- thinking-of-you card list. I am hoping to soon start my Christmas Collection which I have huge dreams for so do cross your fingers that I'll eventually get around to it!

Without further ado though, I should present to you the very measly card offerings I have for you this time around!

Hello, Beautiful!

This was made for my gorgeous (if you hadn't already guessed!) mate Cherrine in Oz! We've been friends from school and only see each other once in 2 years or so, but Cherrine's a doll and has always been nothing but absolutely lovely to me.

Happy birthday, Sweetie! I am so glad you liked it!


Owl-ing About


This was a commission from my most loyal patron, Dots for her friend's birthday. I always have such trouble with male type cards as I can't use my cutesy stamps, girly ribbons, glitter or bling! I am not sure if I hit the right note with this one, but I do love this owl stamp - the September Stamp set of the Month for the Stamps of Life club!

Thursday, August 25, 2011

And from the new ink pads...


Just testing the ink pads ended up in the creation of this card!

I am so pleased with the way it turned out. Quick, easy- all thanks to quality inks and stamps.

This is now a commission by the way. ;-)

I had to stamp the envelope too- I just couldn't stop stamping!


Ink, Ink!

Now what have we here?

A box load of inks!

Before I explain further lets do a little pictorial comparison.

Stamp Pad A cost RM14.20 (inclusive of shipping all the way from the US-of A) and Stamp Pad B cost RM13.90 (and that does NOT include the exorbitant parking rate/fuel cost I am slapped with when I go buy these inks from Bangsar!) They're BOTH Color Box Pigment Inks BUT, Stamp Pad A is marketed under Stamps of Life's Stephanie Barnard's label. The catch? To get the insanely cheap price of RM14.20 for such a huge and luscious ink pad- I have to buy them in either a set of half dozen or one dozen (different colours). It was a doozy of a no-brainer.

And besides the super value, you get, honestly (and I've tried almost every ink brand on the planet) the BEST ink pads I have ever used.

Promise guys, I am not being paid by Stephanie to say this. It is seriously, the most amazing ink pad you can buy for your stamps. With or without a stamping mat, I got perfect images every time. You can get them from here. The first batch was sold out in a matter of 2 days and I had to wait another week for the second batch. If you are reluctant, it's okay. That just means more stamp pads for me. I feel like stocking these up just cause they're so amazing.

Thursday, August 4, 2011

Card Projects in July

A rather hectic month and my cardmaking seems to be less than satisfactory to me. I do need a break from work and stress but it isn't likely to come anytime soon I am afraid. For now, let me share with you some of the cards I have made using my latest toy- the heat embossing gun! Safe to say, a troublesome, messy method of crafting but the results are just too gorgeous. I am very much addicted! The technique has turned some of my best loved stamps to gilded images. Take a look!

1) Baroque Love- heat embossed in gilded gold, the stamp featuring a 17th century French fashionable lady is from the talented people at Oxford Impressions. An extremely simple card which I admit could use more embellishment. I was just so caught up in the lovely image!


2) Baroque Love 2 - Also a stamp from the same Oxford Impressions pack. Only this one hasn't been embossed- just stamped in chalk ink. The fan flower was a nice touch but may make envelope fitting a bit of a nightmare!


3) By the Brick Wall - A birthday card commissions. The brick wall effect was from a Tim Holtz texture fades embossing folder. Really, really love Tim's grungy products although too much of it one card may be overkill. The placard greeting has been embossed in copper embossing powder. The stamps are all from Sheena Douglass' Create-a-Scene Pub set (courtesy of my darling bestie in Scotland).

4) A small note - one of the smallest cards I've made so far. You prolly can't tell from the picture but it is half the size of the usual cards. I can't tell you measurements as I don't measure anything. Math isn't fun so for me it has no place in cardmaking- sorry! ;-) The stamp was a freebie from PaperCraft Essentials Monthly. I must admit I am getting a little tired of the cutesy designs of stamps that most companies are coming up with. Give me a vintage image any day. But I guess these have their uses.

5) Birds of feather - A mixture of stamping, dry embossing, heat embossing and chalking made this card. The flowers were heat embossed in gold, the tree trunk accents on the circle from the same embossing folder pack as the brick wall above. I also gave my new circle die cuts a test run. The circle sentiment was stamped in VersaMark and run over with a thick layer of chalk to create the shade. The flowers have also had chalk dabbed in for added colour!