A rather hectic month and my cardmaking seems to be less than satisfactory to me. I do need a break from work and stress but it isn't likely to come anytime soon I am afraid. For now, let me share with you some of the cards I have made using my latest toy- the heat embossing gun! Safe to say, a troublesome, messy method of crafting but the results are just too gorgeous. I am very much addicted! The technique has turned some of my best loved stamps to gilded images. Take a look!
1) Baroque Love- heat embossed in gilded gold, the stamp featuring a 17th century French fashionable lady is from the talented people at Oxford Impressions. An extremely simple card which I admit could use more embellishment. I was just so caught up in the lovely image!

2) Baroque Love 2 - Also a stamp from the same Oxford Impressions pack. Only this one hasn't been embossed- just stamped in chalk ink. The fan flower was a nice touch but may make envelope fitting a bit of a nightmare!

3) By the Brick Wall - A birthday card commissions. The brick wall effect was from a Tim Holtz texture fades embossing folder. Really, really love Tim's grungy products although too much of it one card may be overkill. The placard greeting has been embossed in copper embossing powder. The stamps are all from Sheena Douglass' Create-a-Scene Pub set (courtesy of my darling bestie in Scotland).

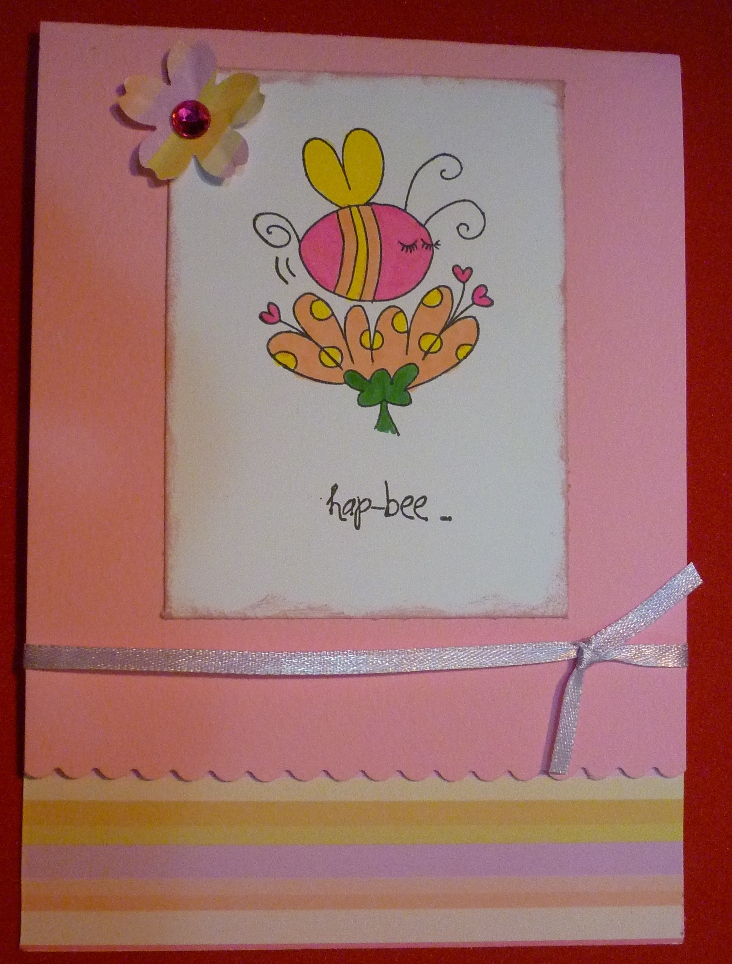
4) A small note - one of the smallest cards I've made so far. You prolly can't tell from the picture but it is half the size of the usual cards. I can't tell you measurements as I don't measure anything. Math isn't fun so for me it has no place in cardmaking- sorry! ;-) The stamp was a freebie from PaperCraft Essentials Monthly. I must admit I am getting a little tired of the cutesy designs of stamps that most companies are coming up with. Give me a vintage image any day. But I guess these have their uses.

5) Birds of feather - A mixture of stamping, dry embossing, heat embossing and chalking made this card. The flowers were heat embossed in gold, the tree trunk accents on the circle from the same embossing folder pack as the brick wall above. I also gave my new circle die cuts a test run. The circle sentiment was stamped in VersaMark and run over with a thick layer of chalk to create the shade. The flowers have also had chalk dabbed in for added colour!